

Showing posts with label FX makeup. Show all posts
Showing posts with label FX makeup. Show all posts
Monday, August 18, 2014
FX Basics: Scar Wax

Saturday, December 14, 2013
Dying my hair red again!!
As a part of vlogmas I did a vlog on me dying my hair red, a different way from what I do most times. Hope you guys are having a great week, there will still be a weekly vlogmas post of all the vlogs I did for vlogmas that arent beauty or tutorial related.
Monday, December 9, 2013
Tuesday, October 22, 2013
Green Arrow Makeup Look

I have been behind on the Halloween makeup lately guys and I am sorry, in the next two days there will be more up, first is the easy one, since I was asked to do a super hero look, so here we go with Green Arrow, this is based off of the tv show Arrow. Hope you guys enjoyed this look!
Wednesday, September 18, 2013
Decaying Zombie Halloween 2013 Makeup Tutorial.


My first Halloween tutorial this year is another part of my zombie series, last year I did a basic zombie, this time around is a bit more gore-tastic, but not so over the top. Sharing some basic skills and a few different techniques, including liquid latex, scar wax, and gelatin, to make zombie wounds, decaying skin and gross bites.
If you want to know how to do this zombie look, please watch my video!

Monday, September 9, 2013
FX Makeup: Torn Face

-Ashley
Saturday, August 24, 2013
DIY Fake Blood Recipes!

So over the past week or so I have been prepping myself for my favorite season of makeup. This is actually why and how I got into doing makeup as a kid, Halloween! Now most of you are like, its August really? Well if I waited till the last minute I would be out of practice and rusty, so I like getting a head of the game and practice on myself. So first round of business was making a few new batches of fake blood, I have two recipes, one being your standard blood, the other one that sets, and doesn't move after it cools down, but still looks fresh and awesome, example, last years zombie torn face makeup:

All of the blood used in this was my gel blood, and simply peeled off when I was finished, it also doesn't rub off on anything so you can use it on costumes too.
Anyways on to the recipes!
For everything you will need:
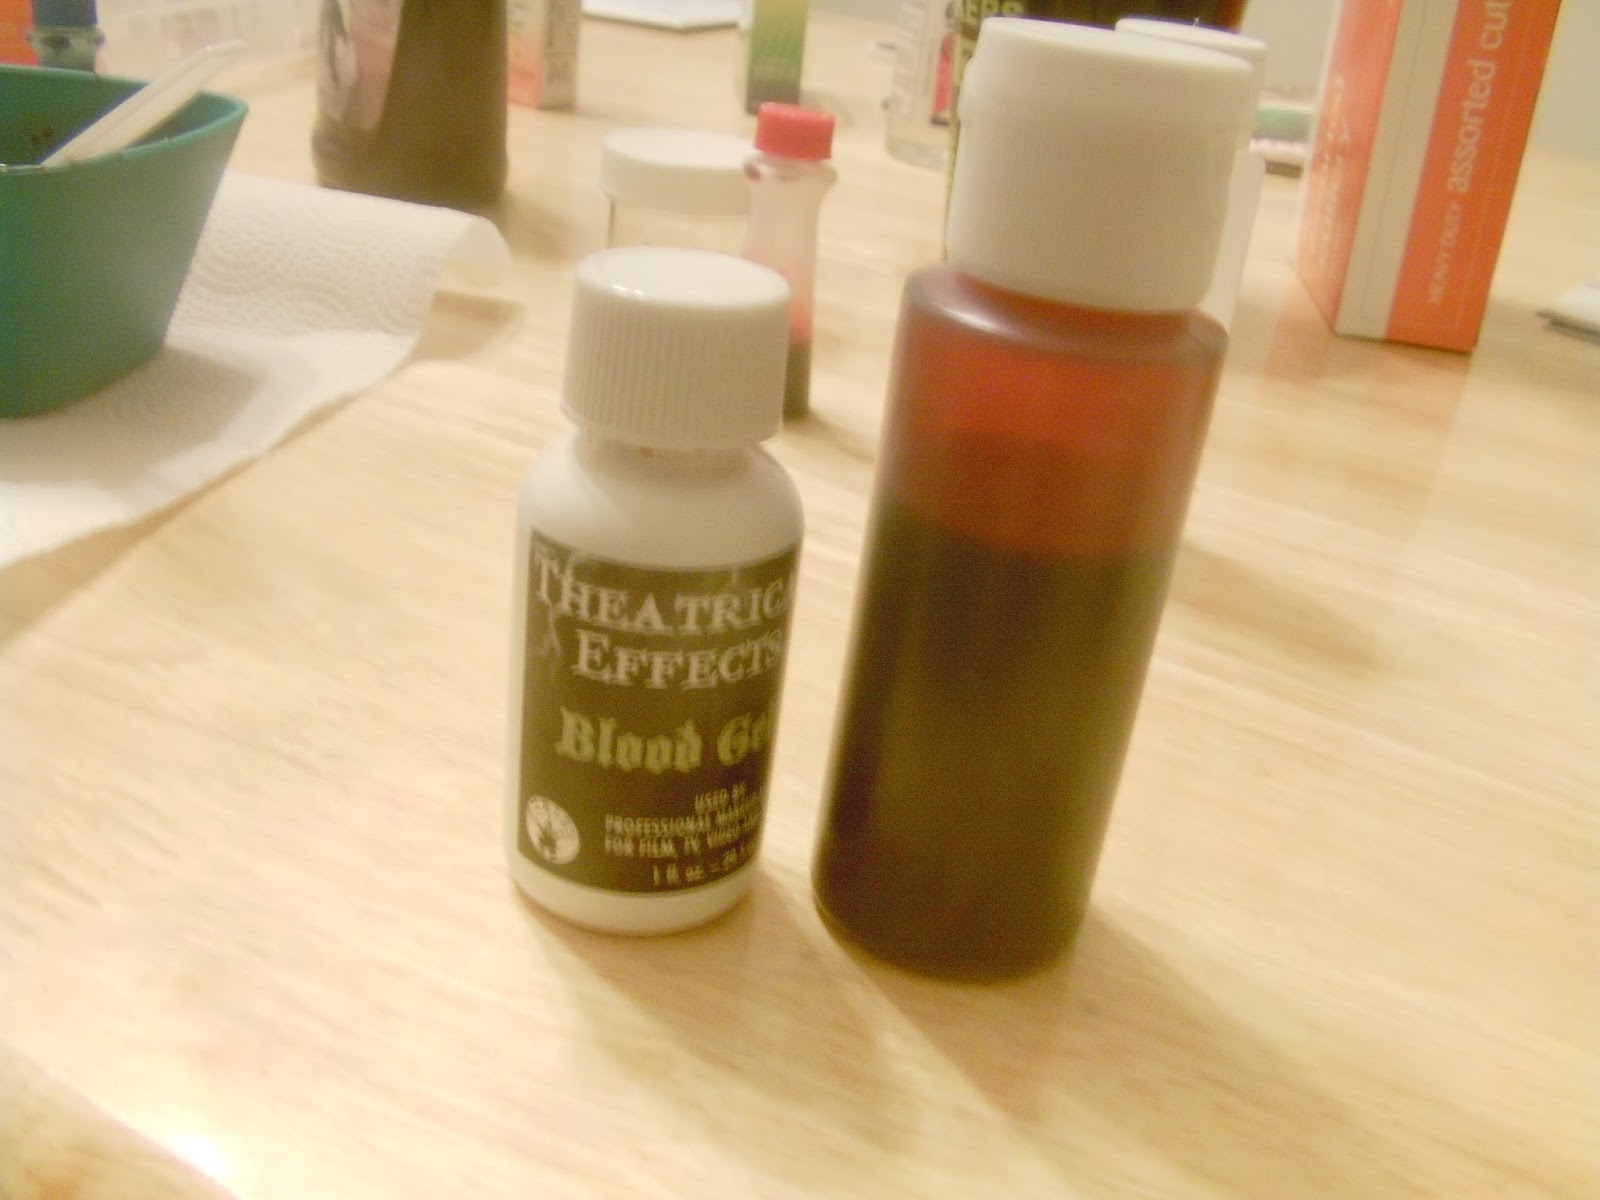
I like to make this in kind of small batches (unless I know I will be needing a lot) because it does contain some things that can spoil.
Add Corn Syup (about one cup I guess it, this is just going be the the base for your blood) to your mixing bowl, then add a few drops of red food coloring, it may look clear like red gel at first, don't panic, this is where the blue food coloring comes in, add a few drops of that. (TIP if you want more fresh blood, add more red food coloring, for more older dried blood use more blue), once you get it to a little bit lighter of a blood color that you want (i swatch it on the black of my hand) take your chocolate syrup and add a little bit of that to the mix, stir it together, swatch it on your hand and if its the consistency you desire, you have your fake blood. If you want it to be a little thinner, add water, thicker and darker try a little more chocolate syrup, or some Cornstarch,. but so a little at a time to see the consistency, don't over do t!
Once you have the right color, texture and what not of your blood, add it to your empty container with a lid (i like using travel containers from the travel section of stores, the ones with the squeeze top are best for this kind of blood) and you are done!
Now if you are making the Gel blood, you can also use this as a part of it.
Gel Blood that sticks:

You are going to need your microwave safe bowl here, add equal parts gelatin, to equal parts glycerin, (I used two table spoons gelatin to two table spoons glycerin) mix them together until the powder is mixed.. Place the container in the microwave for 10 seconds, then stir, keep doing this until the powder has devolved, but not boiling, do not boil it or you will burn the blood. while it is still warm add in your fake blood mixture you made earlier (or any fake blood will do or just red and blue food coloring, whichever, I just used the fake blood I made before because it was on hand) a little at a time once its to the right color put it back in the microwave for 10 more seconds, mix, and there you go.
Now if you are putting it into another container, wait for the blood to completely settle and cool, it will peel out of any bowl easy, like one big lump of gel. Store it in the freezer or a not to warm place until your next use, microwave it for 10 seconds at a time until it is all goopy, and there you go, gel blood that once it cools, it will not budge and last you all night.
WARNING: Be careful when applying it warm, blow on it a bit and make sure it isn't super hot, it might burn the skin if it is too warm (i had that happen)
WARNING: Be careful when applying it warm, blow on it a bit and make sure it isn't super hot, it might burn the skin if it is too warm (i had that happen)
To remove, just peel of the skin and use warm water with soap to get off all the rest. It might stain a bit if you used food coloring, but most blood does anything.
There you go, I hope this helped you in all your halloween needs! I will be posting a few more halloween/gorey DIY!
-Ashley
Wednesday, August 21, 2013
Too early for Halloween makeup? NEVER!
Warning this post may contain pictures "too gorey" for someone with a sensitive stumnache.
As most of you know not only am I a blogger but I'm also a MUA, tho I love beauty makeup my passion for makeup started as a kid with FX and doing a lot of halloween makeup. This year things started a bit early.....here are a few examples of what I have been playing around with. Maybe some tutorials to come?


.jpg)
As most of you know not only am I a blogger but I'm also a MUA, tho I love beauty makeup my passion for makeup started as a kid with FX and doing a lot of halloween makeup. This year things started a bit early.....here are a few examples of what I have been playing around with. Maybe some tutorials to come?


.jpg)
Before doing something on my face I practice on my hand, ive been a bit rusty since I haven't done it in a while, this was purely for fun and to get myself in the mood for the halloween season. what do you guys think? let me know!
ashley
Subscribe to:
Posts (Atom)